Screenshot Microsoft Surface: 4 Ways To Get It Done
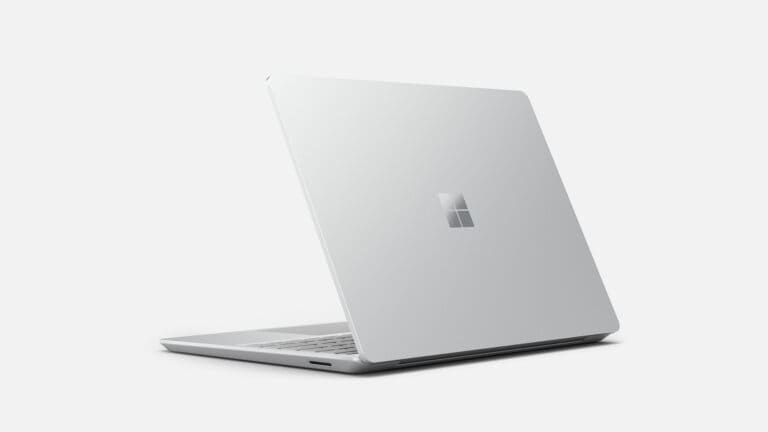
Microsoft Surface devices are great if you want a laptop, desktop, or interactive whiteboard with a touch screen. Can you screenshot on a Microsoft Surface?

While you are researching the Microsoft Surface, check out the Microsoft category page along with bookmarking these other popular articles for future review: Can You Track A Microsoft Surface If It’s Lost Or Stolen?, Can’t Download Apps On Your Microsoft Surface? 8 Troubleshooting Steps!, and Does The Microsoft Surface Pro Come With A Keyboard?
How Do You Take A Screenshot On A Microsoft Surface?
You can capture screenshots on a surface device by pressing Print Screen and pasting it into Microsoft Paint. With no keyboard, you can take a screenshot using hardware buttons. You can also press the windows button (with the windows logo on it) and search for the snipping tool to take screenshots.
Many digital artists including myself love Microsoft Surface products. They work great whether you are in tablet mode or not. You should try downloading the sketch app for your Surface for taking screenshots.
You can take a full screenshot of the entire screen or capture only a smaller area with a surface device. You don’t need a full desktop or a device with a detachable keyboard. You can take a screenshot using a tablet with the right button combination.
Taking a Screenshot With Tablet Buttons
Another way to take a screenshot without a keyboard is to use tablet buttons. If you press the power button and the volume up button at the same time, you will take a screenshot.
If the screen dims briefly and then brightens again, this means it worked. The screenshot will appear in your screenshots folder. This is probably the best way to take a screenshot if you have a Microsoft Surface Pro without a keyboard.
How to Take a Screenshot With the Keyboard
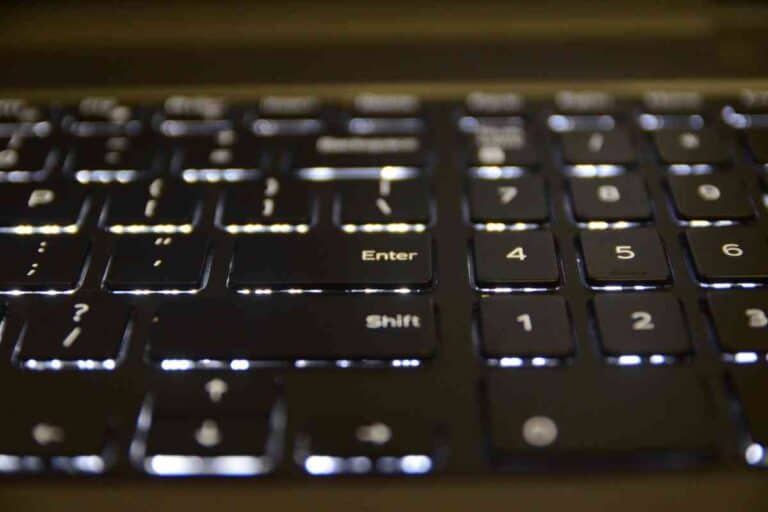
You can also take a screenshot with keyboard buttons if you have a keyboard for your Surface. Press the Print Screen / Prtscn / Prtsn key and your laptop will save the screenshot to the Windows clipboard.
You cannot paste a screenshot directly from the Windows clipboard to your desktop. Instead, you have to open a program like Paint or Word to paste the screenshot.
You can also save a screenshot of the active window instead of taking a full screenshot. Press the Prtscn Key (or the Prtsn Key) and hold down the alt key at the same time. This will take a screenshot of the window that is currently selected.
Taking Screenshot With the Surface Pen
You can use the surface pen’s eraser button to take a screenshot. First, double-click the surface pen’s eraser button to capture the screen. Then, click the save as an icon.
This will open a new feature called screen sketch, which lets you modify the screenshot. You can crop and edit it before you save it. Not every Microsoft Surface product has this feature.
Using the Windows Snipping Tool
Windows has a built-in screenshot program that works on all Microsoft Surface devices. You might find the snipping tool on the start menu. You can find it in the Windows accessories folder if it isn’t there.
You can also go to the start menu and type “snipping tool” into the search box, or ask Cortana to find the snipping tool for you. You can capture only the current window or take a full-screen snip this way.

Different Ways to Use the Windows Snip Tool
The simplest way to use it is to take a full screenshot. This will take a picture of everything on your desktop, including the toolbar at the bottom.
You can also take a screenshot only of the active window using the snipping tool. If you choose that option, you can also select a rectangular area and simply drag across what you want to capture. You can also use the mouse to draw an irregular shape and save that.
After saving the screenshot, you can modify it a little by drawing on it, but there aren’t a lot of editing tools. To edit your screenshot, you will need to save it and then open it in a real image editing program. You can save the screenshot as a GIF/JPG/PNG or as an Html file.
What is the Snip and Sketch Tool?
The snip and sketch tool is more advanced than the snipping tool. You at least need Windows 10 with recent updates to use snip and sketch.
It is a great way to take, edit, and share screenshots and works well with your surface pen. You will still have to move the image to photoshop or another editing program if you want advanced image editing.
Using Snip and Sketch to Take a Screenshot On a Surface
Search for the snip and sketch tool using Cortana or the start menu search bar. After it opens, click on new, then on snip now, and select an area to screenshot.
You don’t need your surface pen to use it.
Edit the screenshot if you like, and then click save to save it to your desktop, pictures folder, or whatever other location you choose. You can also click transfer to copy it to the clipboard and then paste it into paint or another program.
Using Keyboard Shortcuts

You can open the snip and sketch tool more easily if you use keyboard shortcuts. First, hold down the windows key and the shift key at the same time. Then, press the S key.
This should open up snip and sketch.
It will go straight to screen clipping mode, making this method quicker and easier. You can do a free-form capture whether you have the surface pen or not.
Capture the area you want, then click save. If you click copy instead of save, it will save the screenshot to the windows clipboard.
Key Takeaways
- You can easily take a screenshot on a surface device.
- You can capture the entire screen or only part of the device’s screen.
- You can double-click on the eraser button on your surface pen to take a screenshot.
- You can save captured screenshots to your pictures library or elsewhere.
- You can use the surface pen to take screenshots, but it’s not required.
